How to Set Up a Secure Guest Wi-Fi Network in Ghana
In today’s connected world, offering internet access to visitors is a sign of good hospitality for homeowners and a professional necessity for small businesses in Ghana. However, giving guests access to your main Wi-Fi network can expose your private files, smart devices, and sensitive business data to unnecessary risks. The solution is a secure Guest Wi-Fi network. This guide from LavaDans Technology Solutions will walk you through the modern, step-by-step process to create a separate, isolated network that keeps your main network safe while providing seamless internet access for your guests.
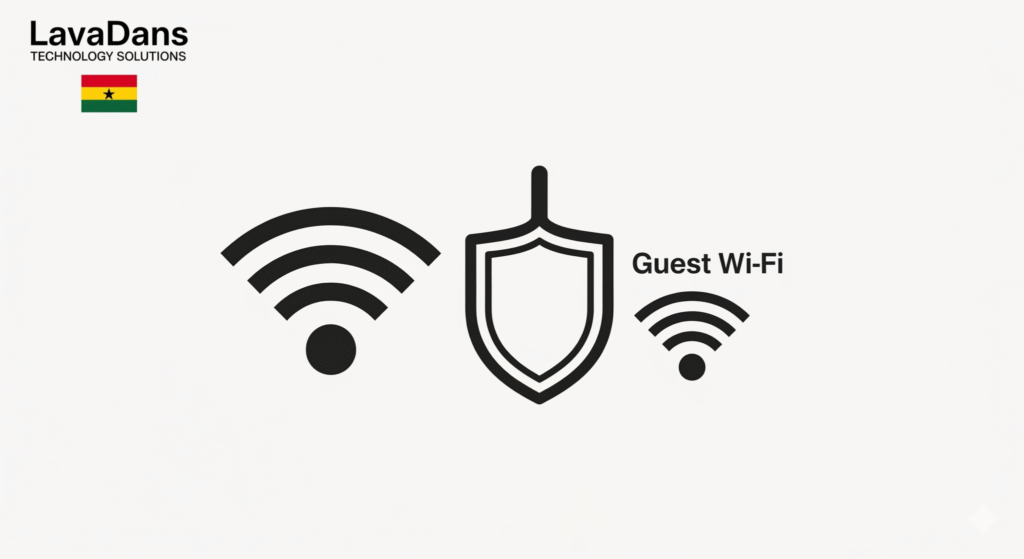
The Benefits of a Separate Guest Network
Before we dive into the steps, it’s important to understand why this is a critical security practice:
- Security Isolation: A guest network acts like a digital wall, preventing visitors from accessing sensitive devices on your main network like your personal computer, shared business files, or security cameras.
- Device Protection: It protects your network from potentially infected guest devices (laptops or phones with malware), ensuring their problems don’t become your problems.
- Performance Control: It allows you to limit the internet speed (bandwidth) for guests, so their video streaming doesn’t slow down your important business operations.
Step-by-Step Guide to Setting Up Your Guest Wi-Fi
Step 1: Access Your Router’s Administrative Settings
To begin, you need to log in to your router’s control panel. Open any web browser (like Chrome or Firefox) and type your router’s IP address into the address bar. This is typically 192.168.1.1 or 192.168.0.1. You can find the exact address and login credentials printed on a sticker on the bottom of your router.

Step 2: Find and Enable the Guest Network Feature
Once you are logged in, navigate through the settings menu. Look for a section named “Guest Network,” “Guest Wi-Fi,” or “Guest Zone.” This is often located under the main “Wireless” or “Wi-Fi” settings. Find the option to enable the feature and give your guest network a unique, easily identifiable name (SSID), such as “LavaDans Guest” or “Adwoa’s Cafe Wi-Fi.”
Step 3: Secure Your Guest Network with a Strong Password
Your guest network must be password-protected. Look for the security settings and select WPA3-Personal as the encryption type. This is the latest and most secure standard. If WPA3 is not available, choose WPA2-Personal. Create a strong, unique password for this network—something that is easy for you to share but difficult to guess.
Step 4: Enable Network Isolation (Crucial Step)
This is the most important security setting. Look for a checkbox or toggle switch labeled “Network Isolation,” “AP Isolation,” “Client Isolation,” or “Allow guests to see each other and access my local network.” You must ENABLE isolation or DISABLE access. This feature is what creates the digital wall, preventing guests from seeing or connecting to any devices on your primary home or business network.
Step 5: (Optional) Limit Guest Bandwidth
To ensure your primary network’s performance is never compromised, many modern routers allow you to set bandwidth limits for the guest network. Look for settings like “Bandwidth Control” or “QoS (Quality of Service).” You can set a cap (e.g., 10 Mbps download / 5 Mbps upload) that is more than enough for browsing and email, but won’t interfere with your own critical tasks.
Need Expert Help?
Setting up a guest network is a powerful step towards securing your digital environment. If you’ve followed these steps, you have successfully protected your primary network while providing valuable connectivity to your visitors. If you find these settings confusing, or if you’d like a professional to conduct a full security audit of your network, LavaDans Technology Solutions is here to help.