5 Simple Steps to Set Up Wi-Fi Parental Controls in Ghana
As a parent in Ghana, giving your children internet access for school and fun is essential, but keeping them safe online can feel overwhelming. How can you ensure they are not exposed to inappropriate content while still allowing them the freedom to learn and explore? The most powerful tool you have is right in your home: your Wi-Fi router. This guide from LavaDans Technology Solutions will provide a clear, step-by-step process for setting up effective parental controls, giving you peace of mind in a connected world.
Understanding Your Options for Parental Controls
There are two main ways to manage your children’s internet access. For the best protection, we recommend using both together:
- Router-Level Controls: This is your home’s “first line of defense.” By setting rules on your main Wi-Fi router, you can block content and set time limits for every device that connects to your home network, including game consoles and friends’ phones.
- Device-Level Controls: These are settings on your child’s specific smartphone, tablet, or computer (like Google Family Link or Apple Screen Time). They are excellent for managing app usage and tracking location when your child is away from home and not on your Wi-Fi. This guide will focus on setting up the powerful router-level controls.
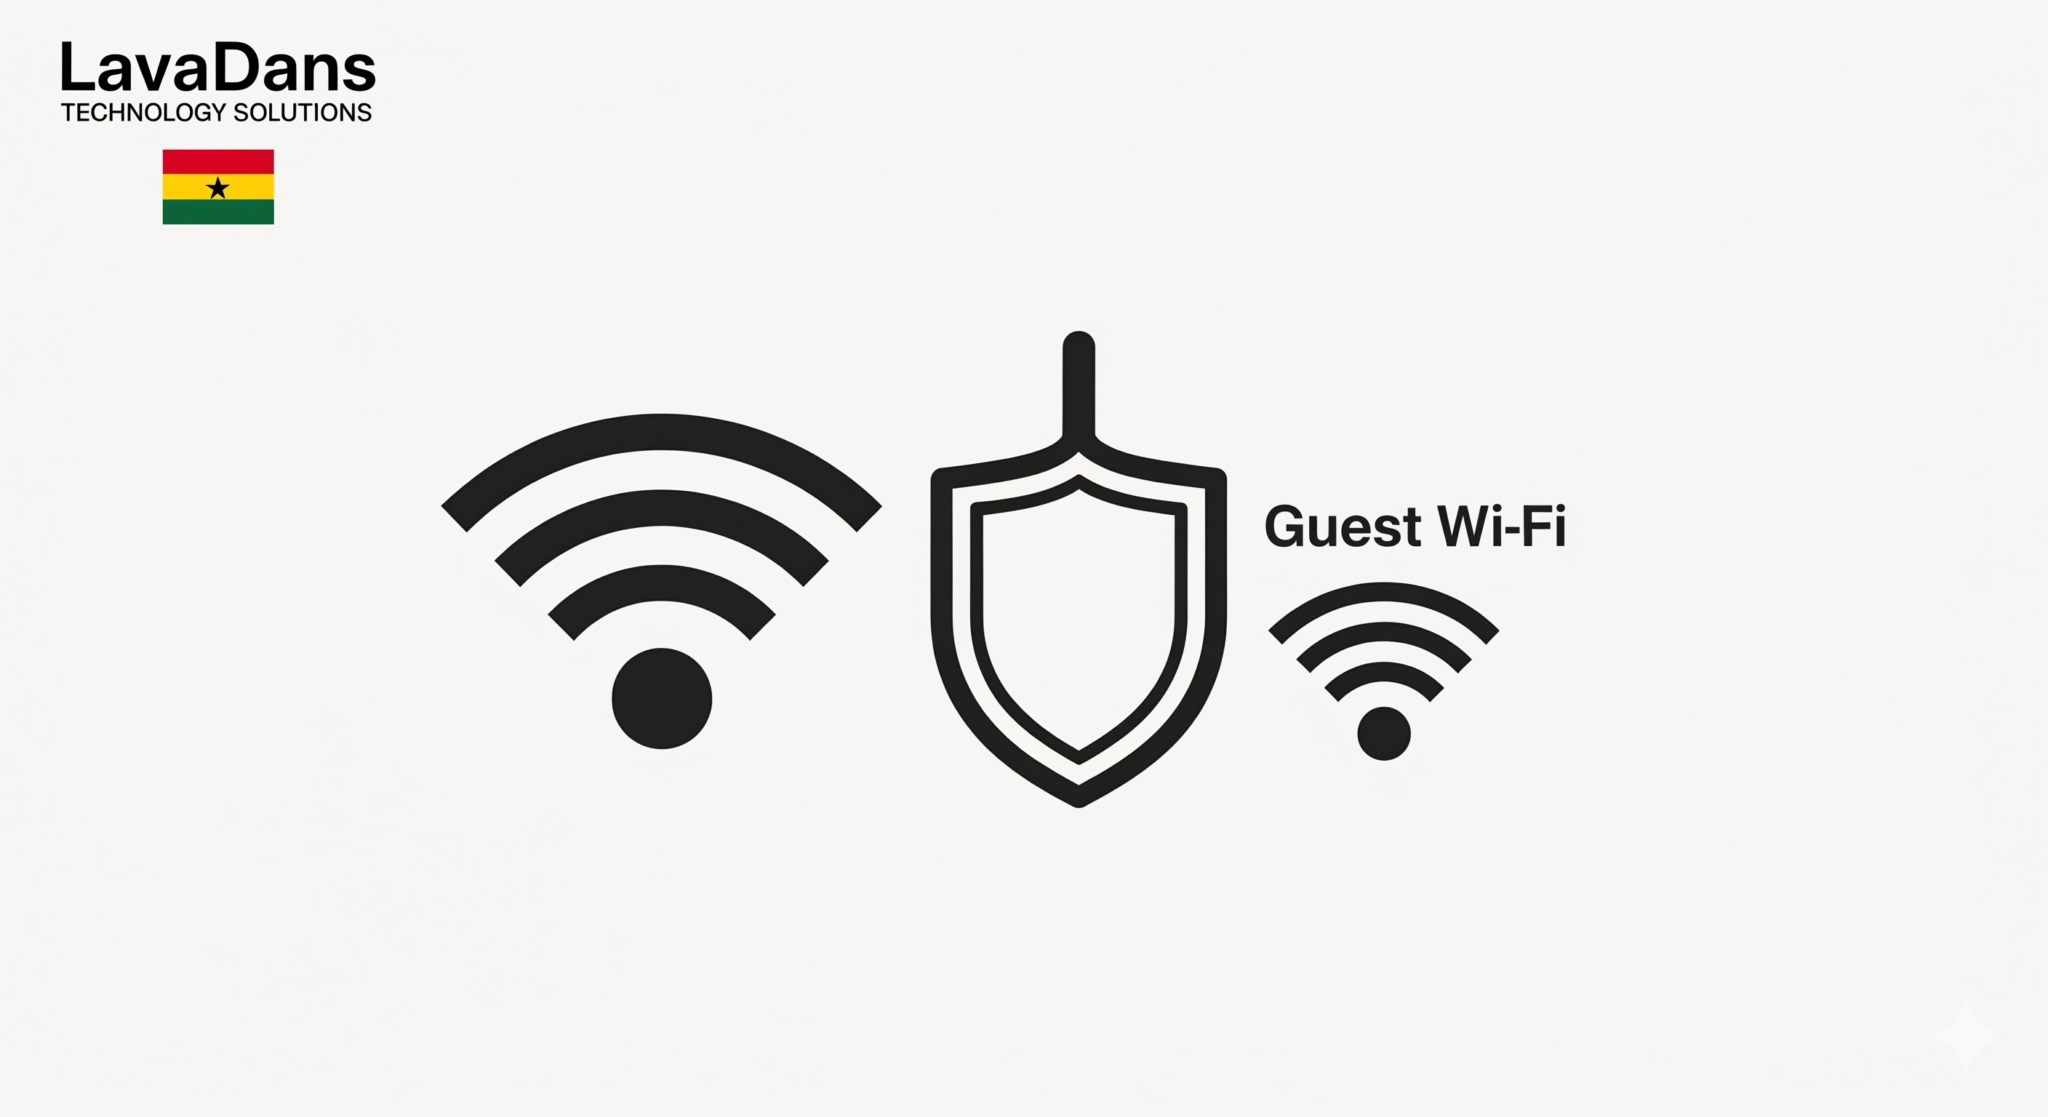
How to Set Up Parental Controls on Your Router
Step 1: Log In to Your Router’s Control Panel
Open a web browser on a computer connected to your home Wi-Fi. In the address bar, type your router’s IP address (commonly 192.168.1.1 or 192.168.0.1) and log in with the admin credentials found on the sticker on the router itself.
Step 2: Locate the Parental Controls Section
Once logged in, search the menu for “Parental Controls,” “Access Control,” or sometimes “Security.” Every router brand (like TP-Link, D-Link, etc.) has a slightly different name for it. This is where you will manage all your settings.
Step 3: Create a Profile for Your Child
The best systems allow you to create a “profile” for each child. You can name it “Junior’s Devices,” for example. The router will show you a list of all devices connected to your Wi-Fi; you can then assign your child’s phone, tablet, and laptop to this new profile. Now, any rules you create will apply to all of their devices at once.
Step 4: Block Inappropriate Content Categories
Modern routers make this easy. Instead of blocking websites one-by-one, you can block entire categories. Look for a “Content Filter” or “Web Filter” section. Here, you can check boxes to block categories like “Adult Content,” “Gambling,” “Social Media,” etc. For younger children, start with a high level of filtering and relax it as they get older.
Step 5: Schedule Internet Access Times
This is a powerful feature for establishing healthy digital habits. Look for a “Time Limits” or “Schedule” setting. You can set rules to automatically turn off internet access for your child’s profile during specific times—for example, from 9:00 PM to 7:00 AM on school nights, or during homework hours.
Your Partner in Digital Safety
By taking these steps, you have created a safer online environment for your family. Remember that technology is only one part of the solution; open conversations with your children about online safety are just as important. If your router doesn’t have these features, or if you’d like a professional to help configure a complete home network security plan, we are here to help.